How to Take iPhone Photos Like a Pro!
Recently I had the opportunity to teach a photography workshop at a women’s event in Navasota. Attendees loved my portion on iPhone photography, so I thought you might enjoy it too!
Documenting your family’s day to day life in a beautiful way is completely possible, sometimes it just takes knowing what creates a really great image. The key? LIGHT!!. Here are some easy tips to use light to your advantage and take your day to day, kids-just-playing-in-the-backyard / adventuring to the lake your friends / taking your boo on a picnic to the park photos to the next level!
- If possible, shoot your subject with your iPhone under trees *in shade*, not under direct sunlight. iPhones have a tough time with hard, intense light. Using trees to diffuse the light from the sun will create much more flattering images.
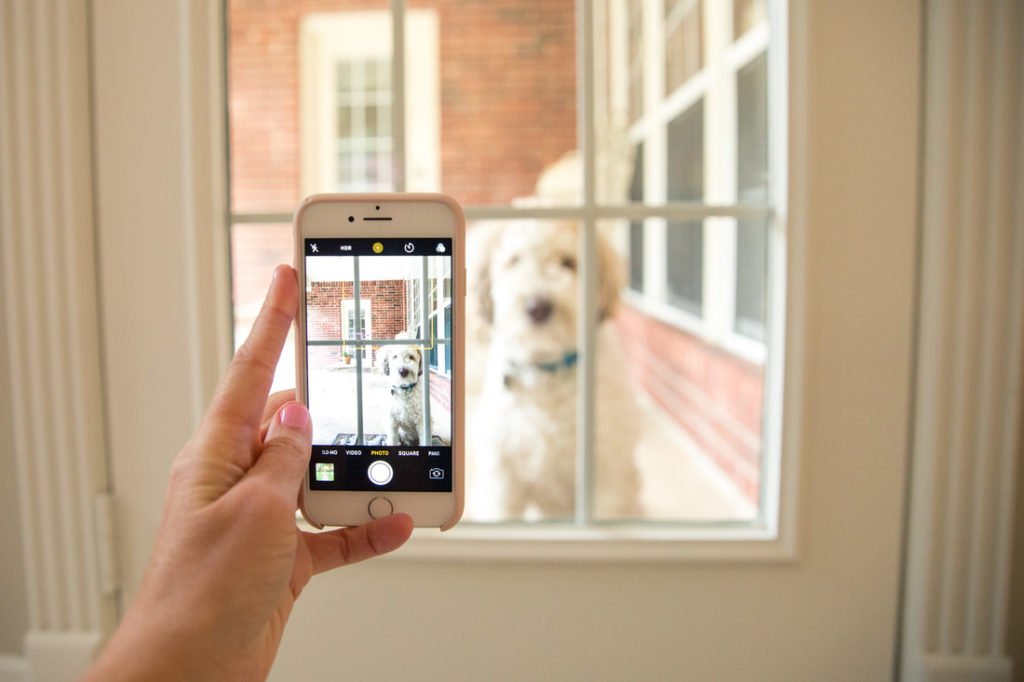
- Want to get rid of those dark circles under the eyes and avoid hi-lights and hotspots on the front of your subject? When shooting outside, place the sun your behind your subject. With the sun behind your subject, all those annoying shadows and bright pots will be gone!
- Enable “HDR.” When HDR is enabled, your iPhone takes 2 photos, one exposed for the background and one exposed for the foreground, and then combines them into one photo. This results in a great, true-to-life image.
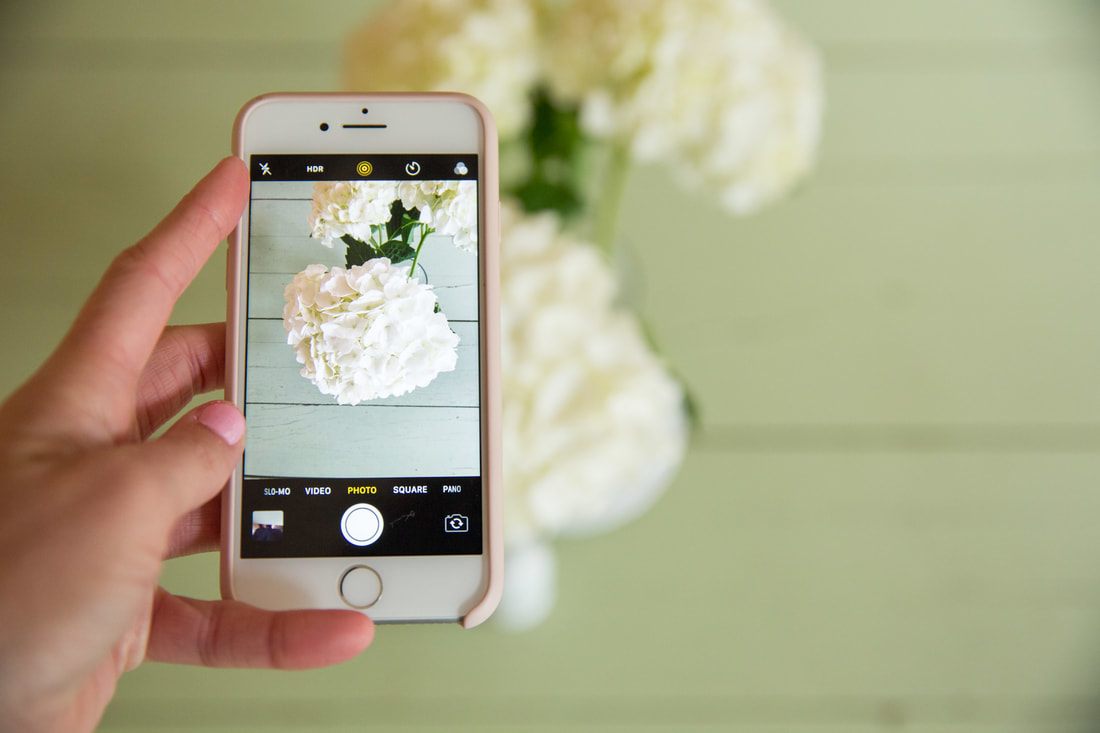
- If you’re inside your house experimenting with styling some cookies you made or taking a lay-flat image of your outfit or art you made, play around with turning off ambient lights and bringing your subject near a window. Natural lighting is easier to work with and creates prettier skin tones. Turning off lamps and overhead lights will also eliminate any weird shadows coming in different directions.
- If you have a newer iPhone, use Portrait Mode. Portrait mode mimics the depth that higher quality cameras are able to produce. My greatest tip when using portrait mode is to make sure your back ground isn’t super dark. If the background is too dark, Portrait Mode isn’t very affective.
- Adjust brightness!When you’re using your iPhone’s camera, have you ever noticed that little sun by the square when you tap the screen? Well, hold your finger on that sun and slide your finger up or down to increase or decrease brightness.
There you go! Hopefully those 5 tips will help you feel much more confident documenting your day to day life in a beautiful way using your handy dandy iPhone camera!


the newsletter —
the newsletter
Subscribe to my newsletter list to receive first pick of mini session dates, updates, and more.
the emily boone newsletter
stay in touch?


join the fun
GET OUR BEST WEDDING TIPS & ADVICE DELIVERED TO YOUR INBOX EVERY MONDAY MORNING
